Background
Many websites are vulnerable to SQL injection and other attacks. Skipfish is a free vulnerability scanner from Google that finds such vulnerabilities.What You Need
- BackTrack Linux 4 R2 running in a real or virtual machine
- A target to scan--I used a Windows machine running WebGoat, set to accept requests from external IP addresses
Setting WebGoat to Listen on All Addresses
By default, WebGoat listens only to the localhost. This adjustment makes it listen on all its addresses, so the Linux machine can scan it. Warning: This exposes your WebGoat machine to network attacks! Only do this with a test machine you are willing to risk, or on a closed network you trust.On your Windows machine, open your WebGoat folder. Open the Tomcat folder, and the conf folder. Right-click the server_80.xml folder and click Open With..., Notepad, as shown below on this page.

In Notepad, scroll down to find this section:
 <!-- Define a non-SSL HTTP/1.1 Connector on port 8080 -->
    <!--
 <Connector port="8080" maxHttpHeaderSize="8192"
               maxThreads="150" minSpareThreads="25" maxSpareThreads="75"
               enableLookups="false" redirectPort="8443" acceptCount="100"
               connectionTimeout="20000" disableUploadTimeout="true" />
 -->
    <Connector address="127.0.0.1" port="80" maxHttpHeaderSize="8192"
               maxThreads="150" minSpareThreads="25" maxSpareThreads="75"
               enableLookups="false" redirectPort="8443" acceptCount="100"
               connectionTimeout="20000" disableUploadTimeout="true"
               allowTrace="true" />
Change the address from 127.0.0.1 to 0.0.0.0,
as shown below on this page.

In Notepad, click File, Save. Close Notepad.
Go back to the WebGoat-5.3_RC1 folder and double-click the webgoat.bat file. Webgoat starts.
Click Start, type in CMD, and press Enter. In the Command Prompt window, type IPCONFIG and press Enter. Find the IP address for your "Local Area Connection".
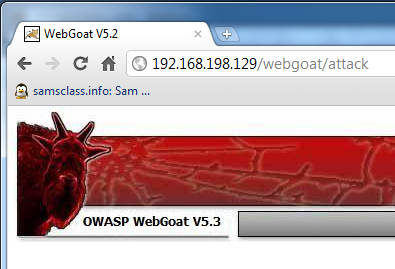
In the Windows machine, open a browser and go to
http://192.168.198.129/webgoat/attackUse your machine's IP address, not the exact address 192.168.198.129. A login box should pop up--log in with username guest and password guest You should see the Webgoat page shown below.
On your Linux machine, open a Web browser and go to
http://192.168.198.129/webgoat/attackUse your machine's IP address, not the exact address 192.168.198.129. You should see the same login screen, and the Webgoat page. If you do not, you have a problem with the networking between the machines. Try shutting off the Windows firewall, make sure you can PING from one machine to the other, and check your virtual network settings. Webgoat must be visible from the Linux machine before you can scan it.
Starting BackTrack
If you are using BackTrack 5, you need to do these things at startup:- Log in as
rootwith passwordtoor - Start the graphical desktop with
startx
Downloading and Compiling SkipFish
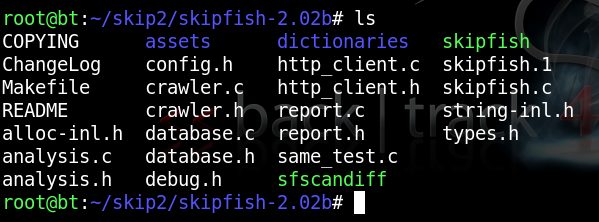
BackTrack includes a version of skipfish, but it's an old version and doesn't work on Webgoat. So you need to download and compile a more recent version. On your Linux machine, in a Terminal window, execute these commands:You should see several files in the directory, as shown below:apt-get install libssl-dev libidn11-devmkdir skipfish
wget http://skipfish.googlecode.com/files/skipfish-2.02b.tgz
tar xzf skipfish-2.02b.tgz
cd skipfish-2.02b
make
ls
Copying the Dictionary File
Skipfish uses dictionaries to hunt for vulnerable files and objects in websites. We will use the minimal dictionary to make the scan faster, but less thorough. In the Terminal window, execute this command:
cp dictionaries/minimal.wl skipfish.wl
Scanning WebGoat
In the Terminal window, execute this command:
./skipfish -o /tmp/skip1 -A guest:guest -m 5 -LVY -X -u "http://192.168.5.93/webgoat/attack"
Replace the IP address with the real address of your WebGoat target machine.
Note: each time you run Skipfish, you must specify a new directory for output (-o). If you run it again, use /tmp/skip2, etc.
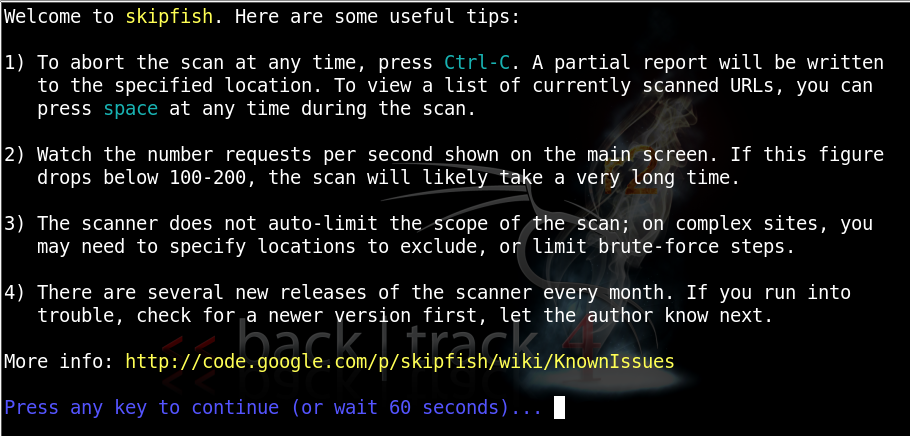
When Skipfish starts, you will see this screen:
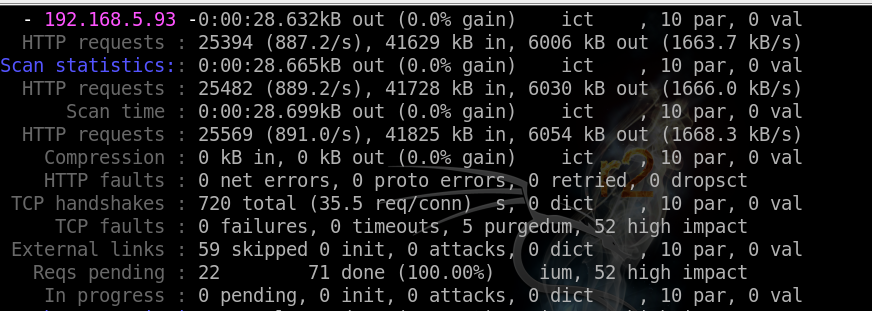
While it is running, you will see messages like this:
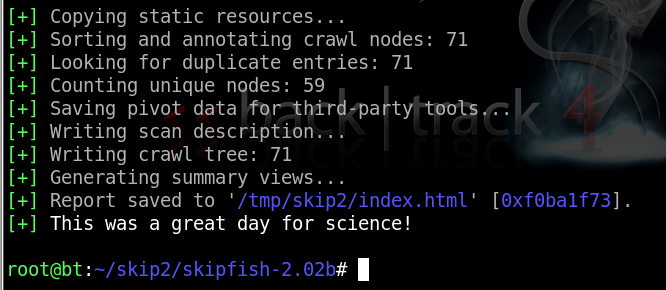
When it finishes, you will see this:
Viewing the Results
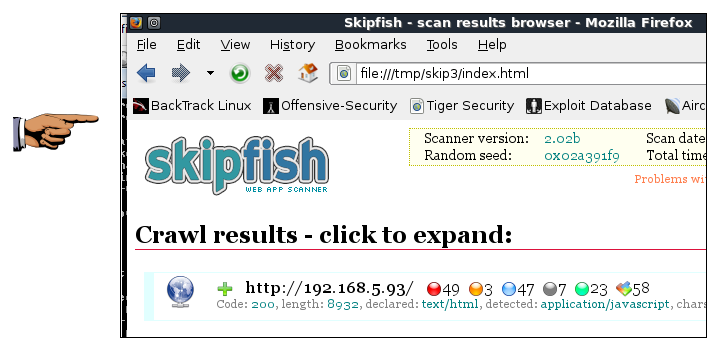
Open Firefox and enter the URL of the saved file, which will be something like/tmp/skip3/index.html
At the top, a summary appears, showing counts of vulnerabilities
with colored dots. The red dot indicates the most dangerouos problems:
Turning In Your Project
Make sure the skipfish results are visible, showing colored dots with numbers. Save this screen shot with a filename of Proj 13 from Your Name.Email the image to cnit.120@gmail.com with a subject of "Project 13 from YOUR NAME".
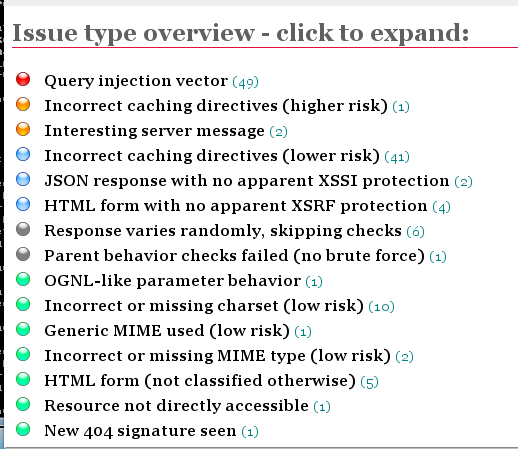
Scroll down to see a more detailed list:
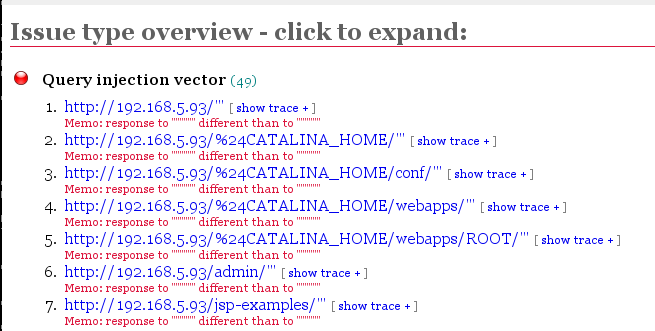
Click the red item to expand it, showing each URL tested, and the exact test that was performed:
No comments:
Post a Comment